Plan Line Drawings for Single Rafter Porch Attaching to Facia
Good advice on how to attach a patio roof to a house, with step-past-step instructions and construction diagrams.
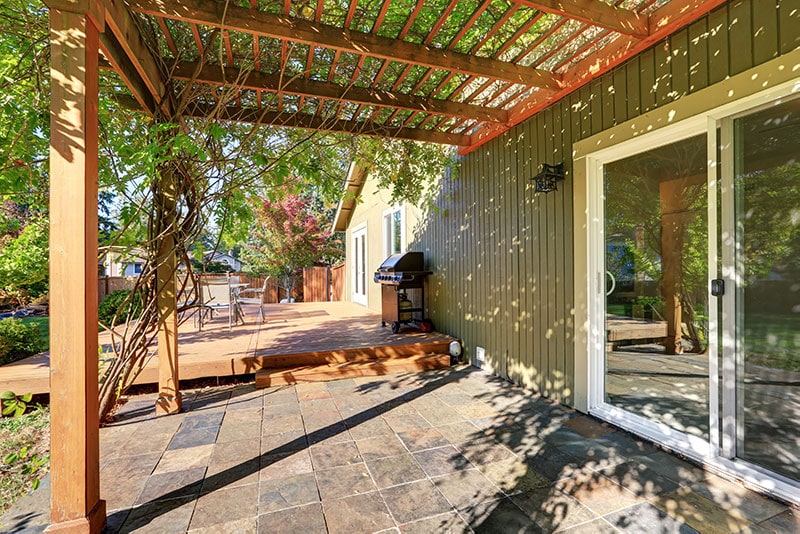
A house-attached patio roof takes advantage of the house's structure past supporting i terminate of the roof on a ledger mounted horizontally to the house. The ledger, typically a two by half dozen, is commonly designed to hold ane cease of the patio-roof rafters. Locating and mounting the ledger is usually a fairly easy process; the ledger should be attached before the foundation is built for a deck, patio roof posts, and other construction.

Where to Attach a Patio Roof Ledger
On a one-story firm, information technology is often best to adhere the ledger for a patio roof just below the firm'southward eaves.
On a 2-story house, yous tin can normally tie the ledger into a ring joist (besides called a rim joist), located between the floors, as shown beneath. Notice the ring joist by measuring downwards from a second-story window.
Mounting the Patio Roof Ledger
Procedures for mounting a ledger depend on the type of siding on the house. Relatively flat siding tin remain intact, but clapboard, beveled woods, metal, or vinyl siding should ever be cut away.
If you take beveled horizontal siding, and so employ an inverted slice of siding, every bit shown in the illustration here, to create a plumb, apartment surface for attaching the ledger.
If your siding is not beveled, yous can simply screw the ledger tightly to information technology.

Remove plenty of the siding so you can constrict flashing behind the siding above the ledger and allow information technology to overhang the siding beneath the ledger.
When cutting wood siding, conform the bract of the round saw so it cuts just the siding and not the capsule underneath. Also, do non let the blade cutting beyond the layout lines. If yous are cut vinyl siding, you can use a abrupt utility pocketknife instead.
A ledger should exist affixed to stiff parts of the firm'south framing, such every bit 2nd-flooring joists or wall studs. The strongest ledger connection relies on bolts that run through the ledger and the house sheathing and rim or ring joist and then are fastened with nuts and washers affixed from the other side. When admission to the other side is unfeasible, use lag screws with washers instead of bolts, every bit shown in the illustration.
If it is incommunicable to attach the ledger to a flooring joist, and then fasten the ledger to wall studs, which are generally located on 16-inch (or sometimes 24-inch) centers and doubled upwardly around doors, windows, and other openings.
Temporarily nail or brace the ledger in place, positioned and leveled at the desired top. Re-check for level, and then drill lag-screw or bolt pilot holes through the ledger and into the business firm's framing.
Attach the ledger with 1/ii-inch-diameter lag screws or bolts every 16 inches (or as specified by local building codes).

Slip iii or four stainless-steel washers betwixt the ledger and the siding when driving each screw, as shown at left. This will let water to menstruation behind the ledger.
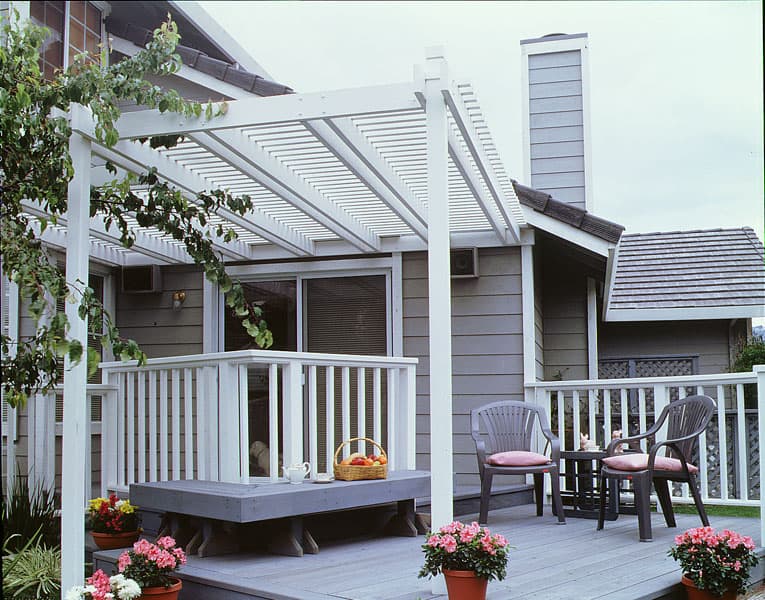
If attaching a patio roof to a ledger beneath the eaves does not allow for enough headroom, you lot can set the new patio roof's rafters on the wall's tiptop plate and fasten them to the sides of the house rafters, as shown in the cutaway cartoon above.
![]()
+
![]()
Local Patio Roof Construction Pros
Fastening to Masonry Walls
Anchor a ledger to a masonry wall with expanding anchor bolts. Begin by marking a line across the wall for the ledger'southward elevation border. Drill holes for the expanding anchors every 16 inches or as specified by local codes, insert the anchors, hold the ledger in identify, and tap it with a hammer to indent the anchor locations on its back face.
Remove the ledger, and drill bolt holes where the commodities tips have left marks. Push or hammer the ledger back onto the bolts, recheck for level (making any needed adjustments), add washers and basics, and and so tighten the bolts.
Flashing a Patio Roof Ledger
Unless it volition be protected from rain by the business firm's eaves or a solid roof, a roof ledger that is attached directly to a house with wood siding should exist capped with galvanized metallic Z-flashing that tucks upward nether siding to foreclose h2o from seeping in behind it.
Where integral flashing isn't possible, such as on a stucco wall, use Z-flashing and caulk the top edge. This is a job you lot must do before fastening the overhead's roof rafters in identify.
You can buy L- or Z-shaped flashing or bend it yourself. To bend sheet-metallic flashing, make a grade by clamping 2 two by 4s together on each side of the metal, and then hammer the metallic to create a sharp edge at each fold. (The result is much neater if you buy pre-formed flashing.)
Fit the flashing in place, caulk the top border, and boom it with galvanized nails long enough to penetrate at to the lowest degree 1 inch into the structural members. And so caulk the nail heads.
If the house is sided with shingles or lap siding, just slip the metal'south top edge up under the lesser border of the shingles or siding as far as possible.
NEXT See:
- Building a Roof Over a Deck or Patio
- Siting a Patio Roof
- Erecting Patio Roof Posts
- Cut Posts & Lifting Beams
- Installing Patio Roof Rafters
- Crossbar & Lath Patio Covering
If building a patio roof or gazebo yourself is sounds like more than you want to tackle, delight run into our chapter partner, HomeAdvisor.
![]()
mccaffreysyclee1962.blogspot.com
Source: https://www.hometips.com/diy-how-to/patio-roof-attach.html
0 Response to "Plan Line Drawings for Single Rafter Porch Attaching to Facia"
Post a Comment